Charm of Scotland: How to Make the Tartan Utility Kilt
Introduction
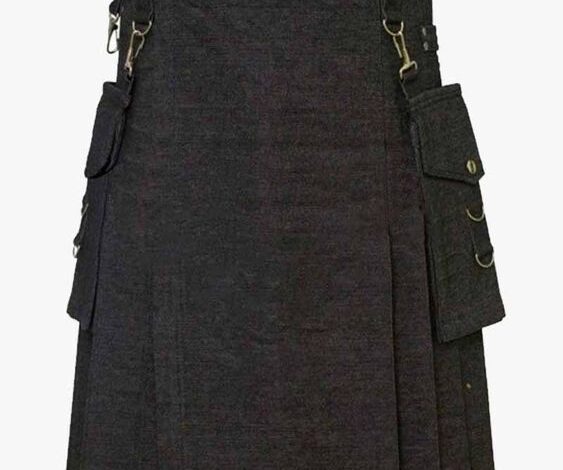
Tartan Utility kilt is a symbol of Scottish heritage, embodying both charm and tradition. The kilt, a modern take on this classic garment, combines the timeless appeal of tartan with practical features for everyday wear. In this guide, we’ll walk you through the process of making your own kilt, from selecting the right fabric to the final touches.

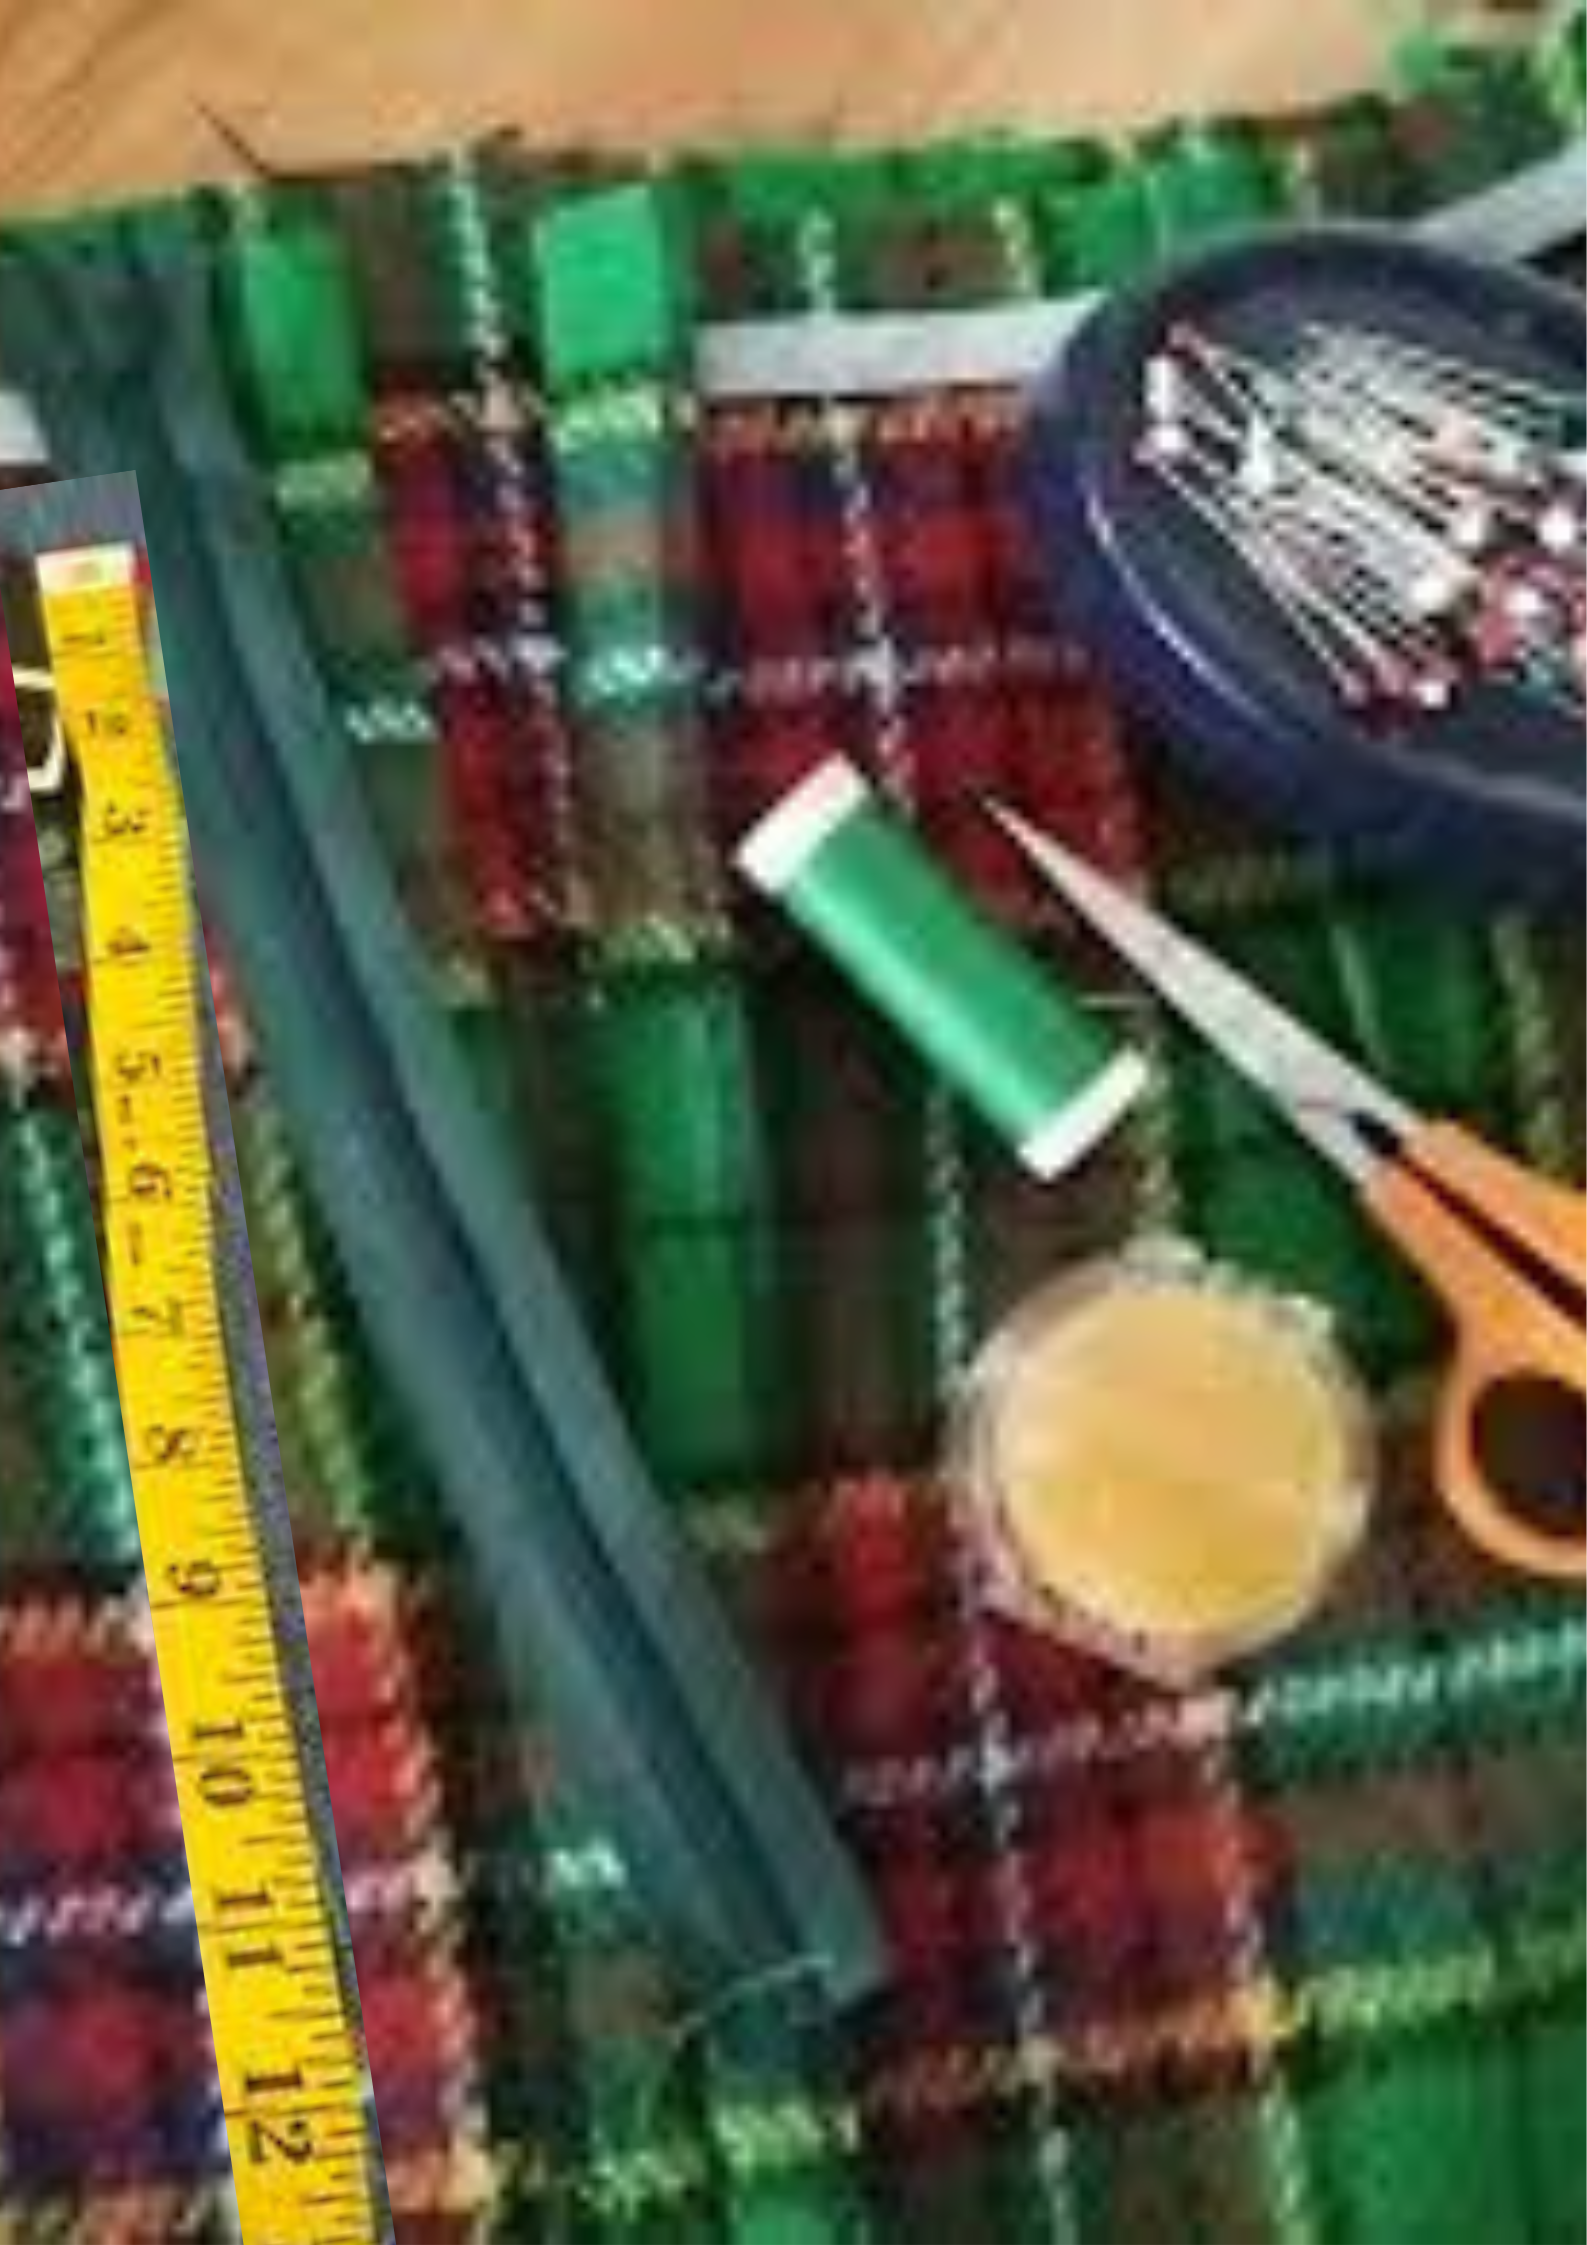
Materials Needed
- Tartan fabric
- Measuring tape
- Scissors
- Sewing machine
- Thread
- Velcro or kilt pins
- Iron and ironing board
Step-by-Step Guide for Tartan Utility Kilt
Choosing Your Tartan Fabric
Select a high-quality Tartan Utility Kilt fabric that resonates with your personal style. Traditional Scottish tartans come in various patterns and colours, each representing different clans and regions. Make sure the fabric is durable and easy to work with.
Taking Measurements
Measure your waist, hips, and the desired length of the kilt. Utility kilts are typically knee-length, but you can adjust this based on your preference. Record these measurements accurately as they will guide your cutting and sewing.
Cutting the Fabric of Tartan Utility Kilt
Lay your fabric flat and mark the measurements with a fabric chalk. Cut the fabric accordingly, ensuring you leave extra material for pleats and seams. The width should accommodate the pleats, which add to the kilt’s fullness and charm.
Creating the Pleats
Pleating is the most distinctive feature of a kilt. Fold the fabric at regular intervals, pinning each pleat in place. The pleats should be even and consistent in width. Once pinned, iron the pleats to create sharp, crisp folds.

Sewing the Pleats
Using your sewing machine for a Tartan Utility Kilt , and stitch along the top edge of the pleats to secure them in place. This step ensures the pleats stay intact and adds structure to the kilt. Reinforce the stitching for extra durability.
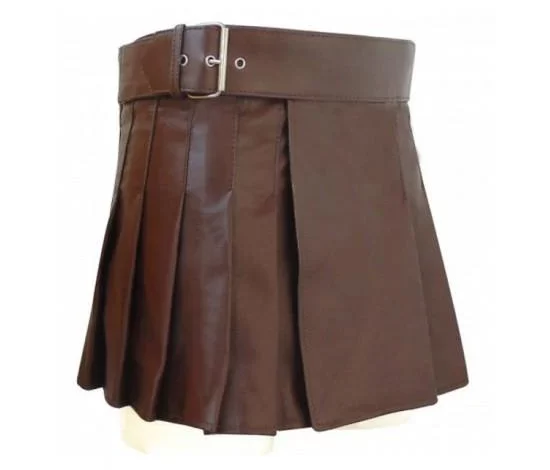
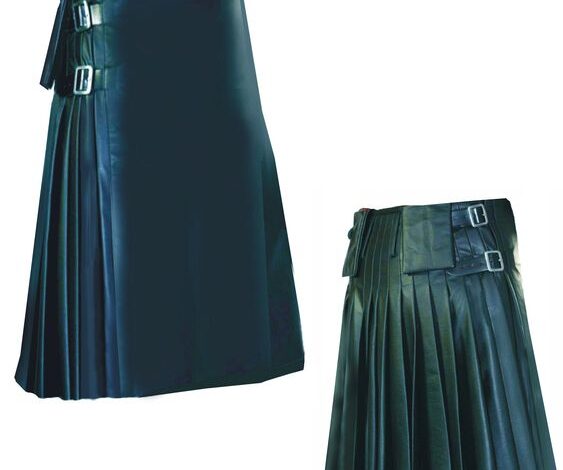
Adding the Waistband
Attach a waistband to the top of the kilt. This can be a simple strip of fabric or a more structured band, depending on your preference. Sew it securely, ensuring it aligns with the pleats and provides a comfortable fit.
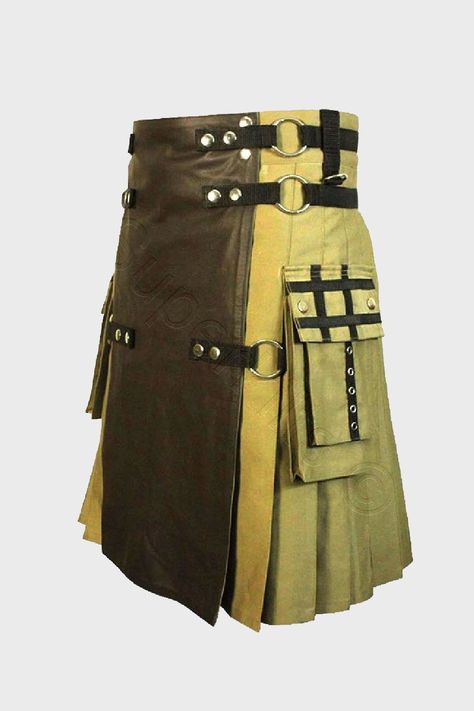
Fastening Options
Utility kilts often use Velcro or kilt pins for closure. Attach Velcro strips to the waistband for an adjustable fit, or add kilt pins for a traditional touch. Ensure the fastening is secure and comfortable.
Finishing Touches on Tartan Utility Kilt
Hem the bottom of the kilt to your desired length, ensuring a neat edge. Give the kilt a final press with the iron to set the pleats and remove any wrinkles.
Conclusion
Creating your own Tartan Utility Kilt is a rewarding project that combines the rich charm of Scottish tradition with modern practicality. By following these steps, you can craft a unique garment that reflects your personal style and heritage. Enjoy wearing your handmade kilt with pride!